Dashboard Overview
Navigate the Linkkit dashboard and understand key features
Purpose
The Dashboard is the primary landing screen after logging into UseLinkkit. It serves as the central command centre for managing, monitoring, and optimising all link activities within your workspace.
It provides a consolidated, real-time overview of:
Overall Link Performance
A summary of total clicks, active links, and audience reach, helping you understand how your links are performing across all campaigns.Traffic Trends
Visual data showing how clicks change over time, allowing you to identify growth patterns, peak activity periods, or performance drops.Engagement Insights
Detailed metrics such as unique visitors, devices, locations, and referrers that reveal how users interact with your links.Quick Operational Tools
Instant-access actions like creating links, generating QR codes, and managing settings to streamline daily workflow and save time.
Instead of navigating across multiple sections, the Dashboard allows users to view high-level performance metrics and take immediate action from a single interface.
What the dashboard enables
The Dashboard helps users:
Monitor total traffic activity
Identify performance trends
Track campaign engagement
Quickly create and manage links
Make informed, data-driven decisions
It is designed to reduce complexity and improve operational efficiency.
Core components of the dashboard
Total clicks & analytics snapshot
Purpose
The Analytics Snapshot provides a quick summary of your workspace’s performance. It displays aggregated data across all active links.
This section allows users to understand engagement levels instantly without reviewing individual links.
Metric | Description | Why It Matters |
|---|---|---|
Total Clicks | Combined number of clicks across all links | Measures overall traffic volume |
Unique Visitors | Number of distinct users who clicked links | Indicates real audience size |
Active Links | Number of currently active short links | Helps track link inventory |
Recent Activity | Newly created or recently clicked links | Monitors ongoing campaigns |
Sidebar Navigation (Left Menu)
The left sidebar contains all major tools and organisational features within your workspace.
Each section is explained below:
Links
The Links section is the core of the dashboard.
Here you can:
Create new short links
Edit existing links
Track click performances
Assign segments and lists
Access detailed analytics
This is where all your shortened URLs are stored and managed.
QR Codes
The QR Codes section allows you to generate custom, trackable QR codes linked to your short URLs.
You can:
Customise QR colours and branding
Add logos
Download QR codes for print or digital use
Track scan analytics
Ideal for offline marketing, product packaging, events, and print campaigns.
Analytics
The Analytics section provides detailed link performance insights.
You can analyse:
Total clicks
Unique visitors
Geographic location data
Device and browser breakdown
Referrer sources
Time-based trends
This data helps optimise campaigns and improve engagement strategies.
Domains
The Domains section lets you manage custom-branded domains.
Using a branded domain:
Increases trust and click-through rate
Improves brand recognition
Creates professional short links
You can add, verify, and manage DNS configurations directly from this section.
Segments
Segments help you categorise, organize, and filter links efficiently inside Linkkit.
Use Segments to:
Group links by campaign
Separate paid and organic traffic
Organize links by platform (Instagram, Email, Ads, etc.)
Structure links by client or project
Quickly filter large link libraries
Segments make large-scale link management simpler, faster, and more structured — especially as your number of links grows.
Lists (Organized Link Management)
Lists function like smart folders inside your Linkkit dashboard. They allow you to group related links for better organisation, faster navigation, and cleaner workspace management.
Instead of keeping all links in one large table, Lists help you structure them logically based on campaigns, clients, or business objectives.
You can create lists to:
Organize Links by Project
If you're running multiple marketing initiatives at once, you can create separate lists such as:
Website Redesign Campaign
Lead Generation Funnel
Influencer Marketing Campaign
SEO Backlink Outreach
This keeps project-related links grouped together, making performance tracking and reporting easier.
Benefit: When reviewing results, you can quickly filter by project instead of searching link-by-link.
Separate Client Accounts (For Agencies)
For agencies managing multiple clients, Lists help segment links per client within the same workspace.
Example:
Client A – E-commerce
Client B – SaaS
Client C – Local Business
Each client’s links stay organized and isolated, reducing confusion and preventing accidental edits.
Benefit: Improves internal workflow and reduces risk of mixing campaigns across clients.
Structure Links by Product Launch
If your business launches multiple products or features throughout the year, Lists help organize links accordingly.
Example:
Product Launch – January
App Version 2.0
Black Friday Offer
Beta Testing Program
This allows you to monitor launch-specific engagement and measure the success of individual product rollouts.
Benefit: Easier performance comparison between different launches.
Manage Seasonal Campaigns
Marketing is often seasonal. Lists can help categorize links for events such as:
New Year Sale
Summer Campaign
Festive Promotion
End-of-Year Discount
Instead of mixing seasonal links with evergreen campaigns, Lists allow you to archive or revisit them when needed.
Benefit: Simplifies recurring campaign planning year after year.
How Lists Improve Workflow
Without Lists:
All links appear in one long table
Filtering becomes repetitive
Campaign tracking becomes manual
With Lists:
Filter by list instantly
Track grouped performance
Share list-specific reports
Keep the workspace clean and structured
How to Create and Use a List
Navigate to Lists from the sidebar
Click Create New List
Name the list (e.g., “Summer Campaign 2026”)
Assign links to the list while creating or editing it
Filter links by selecting the specific list
You can assign one link to multiple lists if needed.
Lists improve visibility and reduce clutter inside your dashboard.
UTM Templates
UTM Templates allow you to create and save predefined sets of UTM parameters that can be reused when generating short links.
UTM parameters (Urchin Tracking Module) are tracking tags added to URLs to measure campaign performance in analytics platforms like Google Analytics.
Instead of manually entering campaign parameters every time, UTM Templates help automate and standardise the process.
UTM Templates Are Important For:
Manually adding UTM parameters for every link can:
Be time-consuming
Lead to inconsistent naming
Cause tracking errors
Break reporting accuracy
UTM Templates solve this by ensuring:
Standardized campaign naming
Accurate performance tracking
Faster link creation
Clean analytics reporting
They are especially useful for marketing teams managing multiple campaigns.
UTM Template Includes:
A typical UTM Template may contain:
Parameter | Purpose | Example |
|---|---|---|
utm_source | Traffic source | facebook, google, newsletter |
utm_medium | Marketing medium | cpc, email, social |
utm_campaign | Campaign name | summer_sale_2026 |
utm_term | Paid keyword (optional) | running_shoes |
utm_content | Ad variation (optional) | banner_a |
These parameters automatically attach to your destination URL when applied.
How UTM Templates Work
Step 1: Create a UTM Template
Go to UTM Templates in the sidebar
Click Create Template
Enter predefined UTM values
Name the template (e.g., “Facebook Paid Ads 2026”)
Save
Step 2: Apply the Template
When creating a new short link:
Select a saved UTM Template
The parameters automatically populate
Create the link instantly
No manual typing required.
Events
The Events section serves as your activity tracking and audit log center within Linkkit. It records important actions and interactions happening inside your workspace in real time.
This section helps you maintain visibility over link performance, team activity, and system-level updates.
The Events section typically tracks:
Link Creation Events: Records when a new short link is created, including the date and the responsible user (if applicable).
Click Activity: Logs user interactions such as link clicks, which can help identify engagement patterns or unusual traffic spikes.
Edits and Updates: Tracks changes made to links, including updates to destination URLs, slugs, expiration dates, or tags.
System Logs: Captures system-level actions such as domain verification, API usage, or configuration updates.
Settings
The Settings section is the administrative control panel of your Linkkit workspace. It allows you to configure your account, manage team access, control security, and oversee billing.
This is where you define how your workspace operates.
What You Can Manage
Account Information: Update your profile details, email address, and account preferences.
Workspace Configuration: Customise workspace name, branding preferences, and operational defaults. Each workspace operates independently, making this useful for managing multiple brands or clients.
Team Members & Permissions: Invite team members and assign roles such as:
Owner
Admin
Member
Viewer
You can control who has permission to create, edit, delete, or analyse links.
This ensures secure and structured collaboration.
API Keys: Generate and manage API keys for:
Automated link creation
Integration with external tools
Custom development workflows
API access allows advanced users to scale link operations programmatically.
Billing & Subscription Plans Manage:
Current plan details
Usage limits
Invoices
Payment methods
Plan upgrades
This section helps ensure uninterrupted service and proper usage monitoring
Security Preferences: Configure security features such as:
Password protection settings
Access controls
Domain security
Verification settings
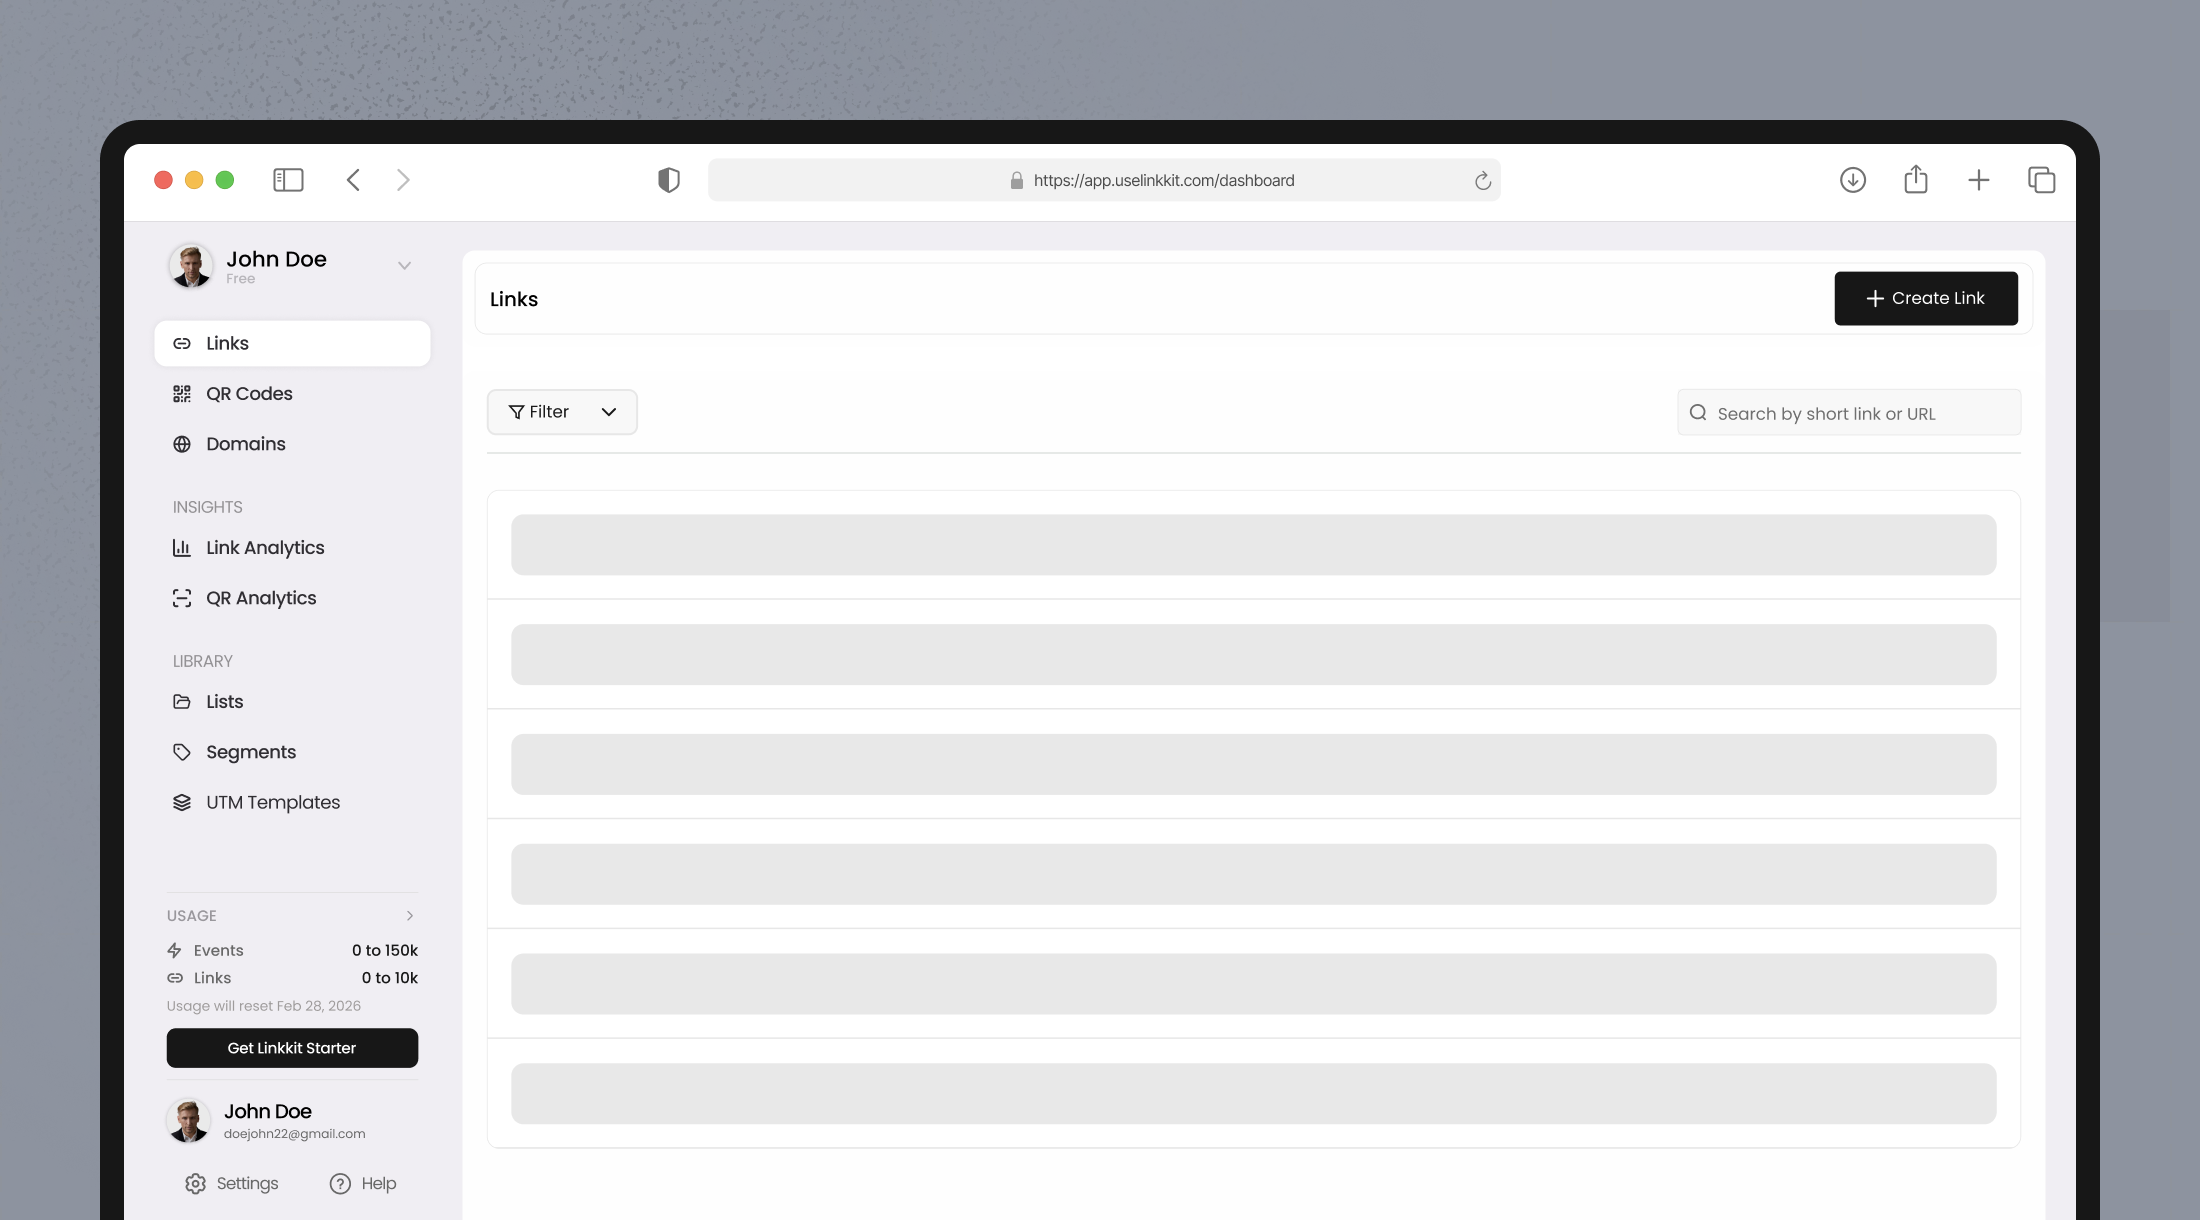
Links List View
The Links List View is the primary working interface inside the Linkkit dashboard. This is where all your shortened URLs are stored, monitored, edited, and organised.
It functions as your centralised link management table, allowing you to control and analyse every link from one structured layout.
As your link volume grows, this section becomes essential for maintaining clarity, efficiency, and campaign control.
Table Layout Structure
All shortened links are displayed in a clean, sortable, and filterable table format. Each row represents one link and provides quick access to key information.
Each row typically includes:
Short Link URL – The branded or default short link created in Linkkit
Destination URL – The original long URL where users are redirected
Click Count – Total number of recorded clicks
Creation Date – When the link was generated
Segments – Labels assigned for categorization
Quick Action Controls – Instant management buttons
This layout ensures you can review link performance without opening each link individually.
Search & Filtering Capabilities
When managing dozens or thousands of links, manual scrolling becomes inefficient. Linkkit provides powerful search and filtering tools to simplify navigation.
Search Bar
The search function allows you to instantly locate links by:
Short URL (slug)
Destination URL
Keywords related to the link
Campaign identifiers
This eliminates the need to manually browse long lists.
Filter Options
Filters allow you to narrow down links based on specific criteria:
Segments – View links associated with a specific label
Lists – Display links grouped under a campaign or project
Date Range – Filter links created within a selected timeframe
Click Performance – Identify high-performing or low-performing links
Filters improve reporting accuracy and speed up campaign analysis.
↕ Sorting Options
You can sort links dynamically based on:
Highest Clicks (Top performers first)
Newest Links (Recently created)
Oldest Links
Alphabetical Order
Sorting is especially useful for performance reviews and campaign audits.
This section helps you:
Manage large link libraries efficiently
Identify high-performing campaigns quickly
Detect underperforming links
Maintain a structured organization
Improve team productivity
It transforms raw data into an actionable management system.
Quick Actions
Linkkit is built for speed and operational efficiency. Quick Actions reduce unnecessary steps and allow you to perform frequent tasks instantly.
Instead of navigating through multiple menus, users can complete common actions with a single click.
Create Link Button
The “Create Link” button is prominently displayed at the top of the dashboard for immediate access.
With one click, you can:
Enter the destination URL
Customize the short link slug
Apply UTM Templates
Assign segments or Lists
Set expiration dates
Enable password protection
Select a custom domain
This ensures rapid campaign deployment without workflow interruptions.
Link Row Actions
Each link row contains fast-access management tools such as:
Copy Link – Instantly copy the short URL
Edit Link – Modify destination URL, slug, or settings
Delete Link – Remove unused or expired links
View QR Code – Generate or download QR version
Access Analytics – Open detailed performance reports
When hovering over a link, additional contextual options may appear, providing deeper management capabilities without leaving the page.
Workflow Efficiency Benefits
Quick Actions help:
Reduce operational friction
Speed up campaign launches
Minimize navigation time
Improve team productivity
Enhance user experience
For marketing teams running frequent campaigns, this time-saving functionality is essential.
Workspace Switcher
The Workspace Switcher, located in the top-left corner of the dashboard, allows users to manage multiple independent workspaces under a single account.
Each workspace functions as a separate environment with its own data and configuration.
The Workspace Switcher allows you to:
Switch between different brands
Manage separate client accounts
Keep analytics data isolated
Maintain independent domain setups
Control user permissions per workspace
This ensures complete separation between projects.
What Each Workspace Contains
Every workspace maintains its own:
Links
Custom Domains
Segments
Lists
Analytics Data
Team Members
API Settings
Nothing overlaps unless intentionally configured.
By combining analytics, organization tools, workspace control, and quick actions, Linkkit ensures that managing short links is streamlined, scalable, and performance-focused.